|
Bonjour ŕ tous !
Je me pose des questions concernant le réglage de la hauteur des vis de pivot du vibrato sur ma musicman Luke. Voici ce que j'ai actuellement: Côté gauche: [url=https://zupimages.net/viewer.php?id=20/10/ud5g.jpg] 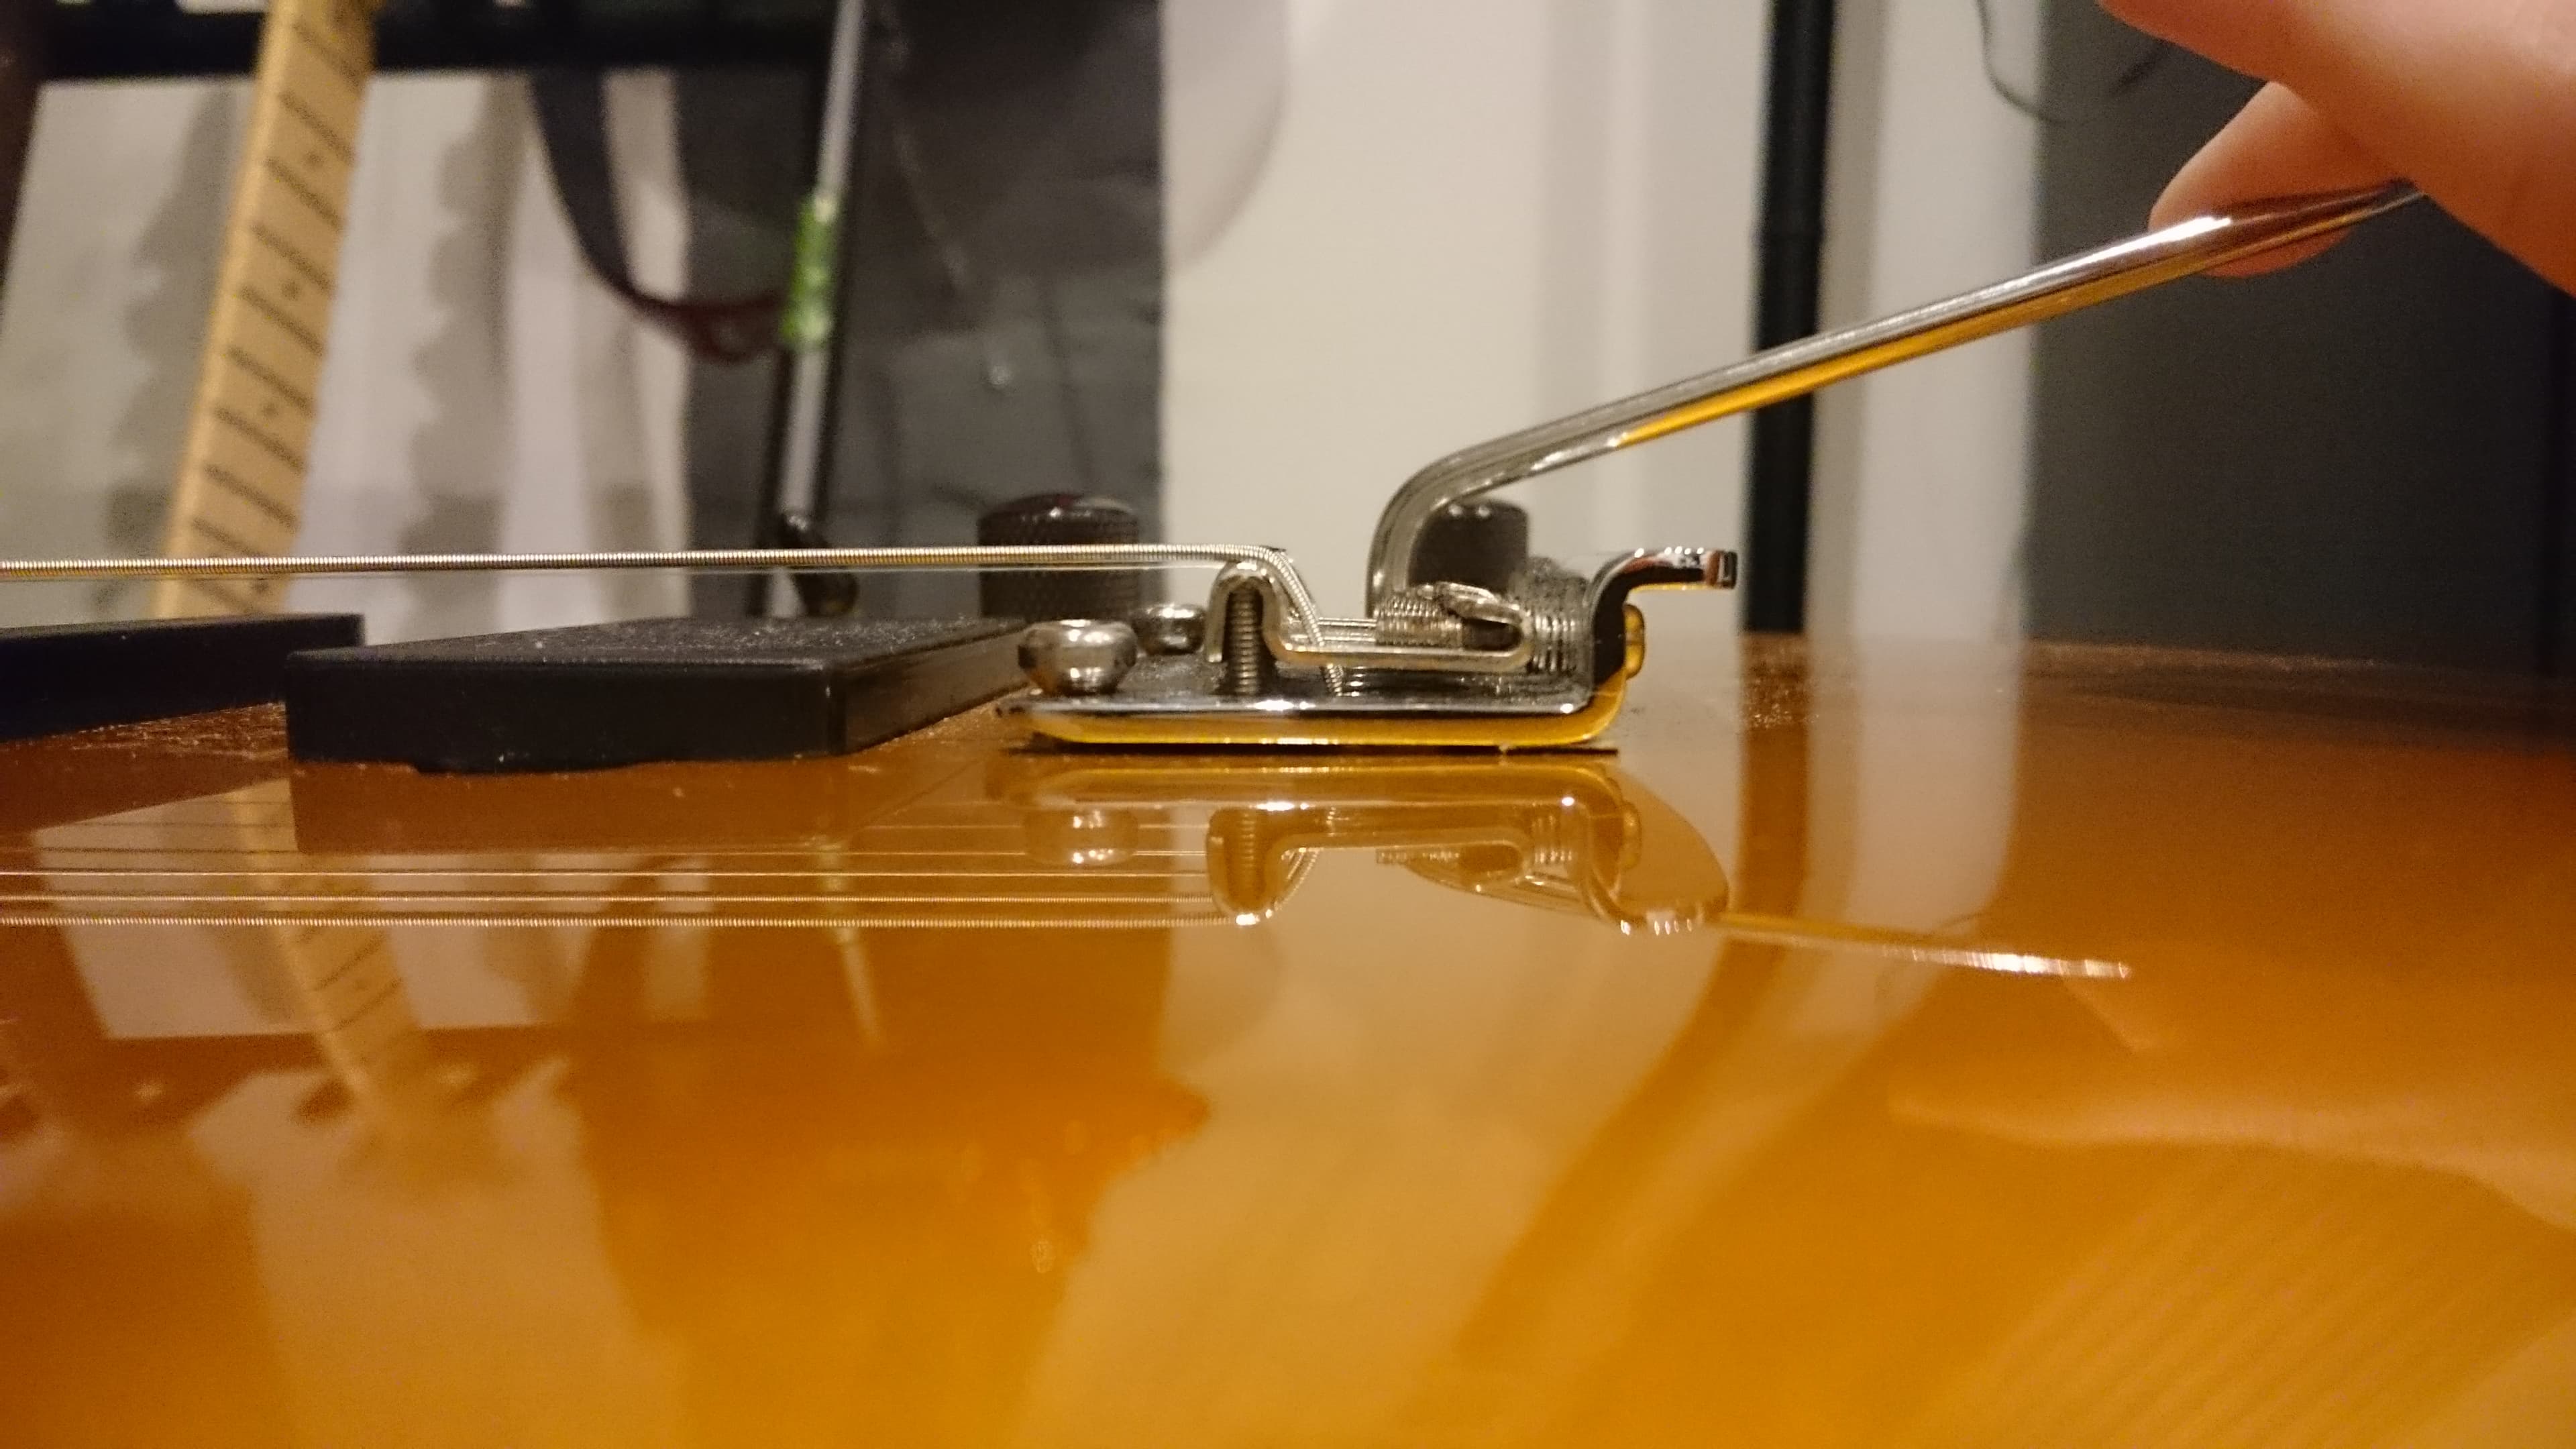 Côté droit: [url=https://zupimages.net/viewer.php?id=20/10/fnwj.jpg] 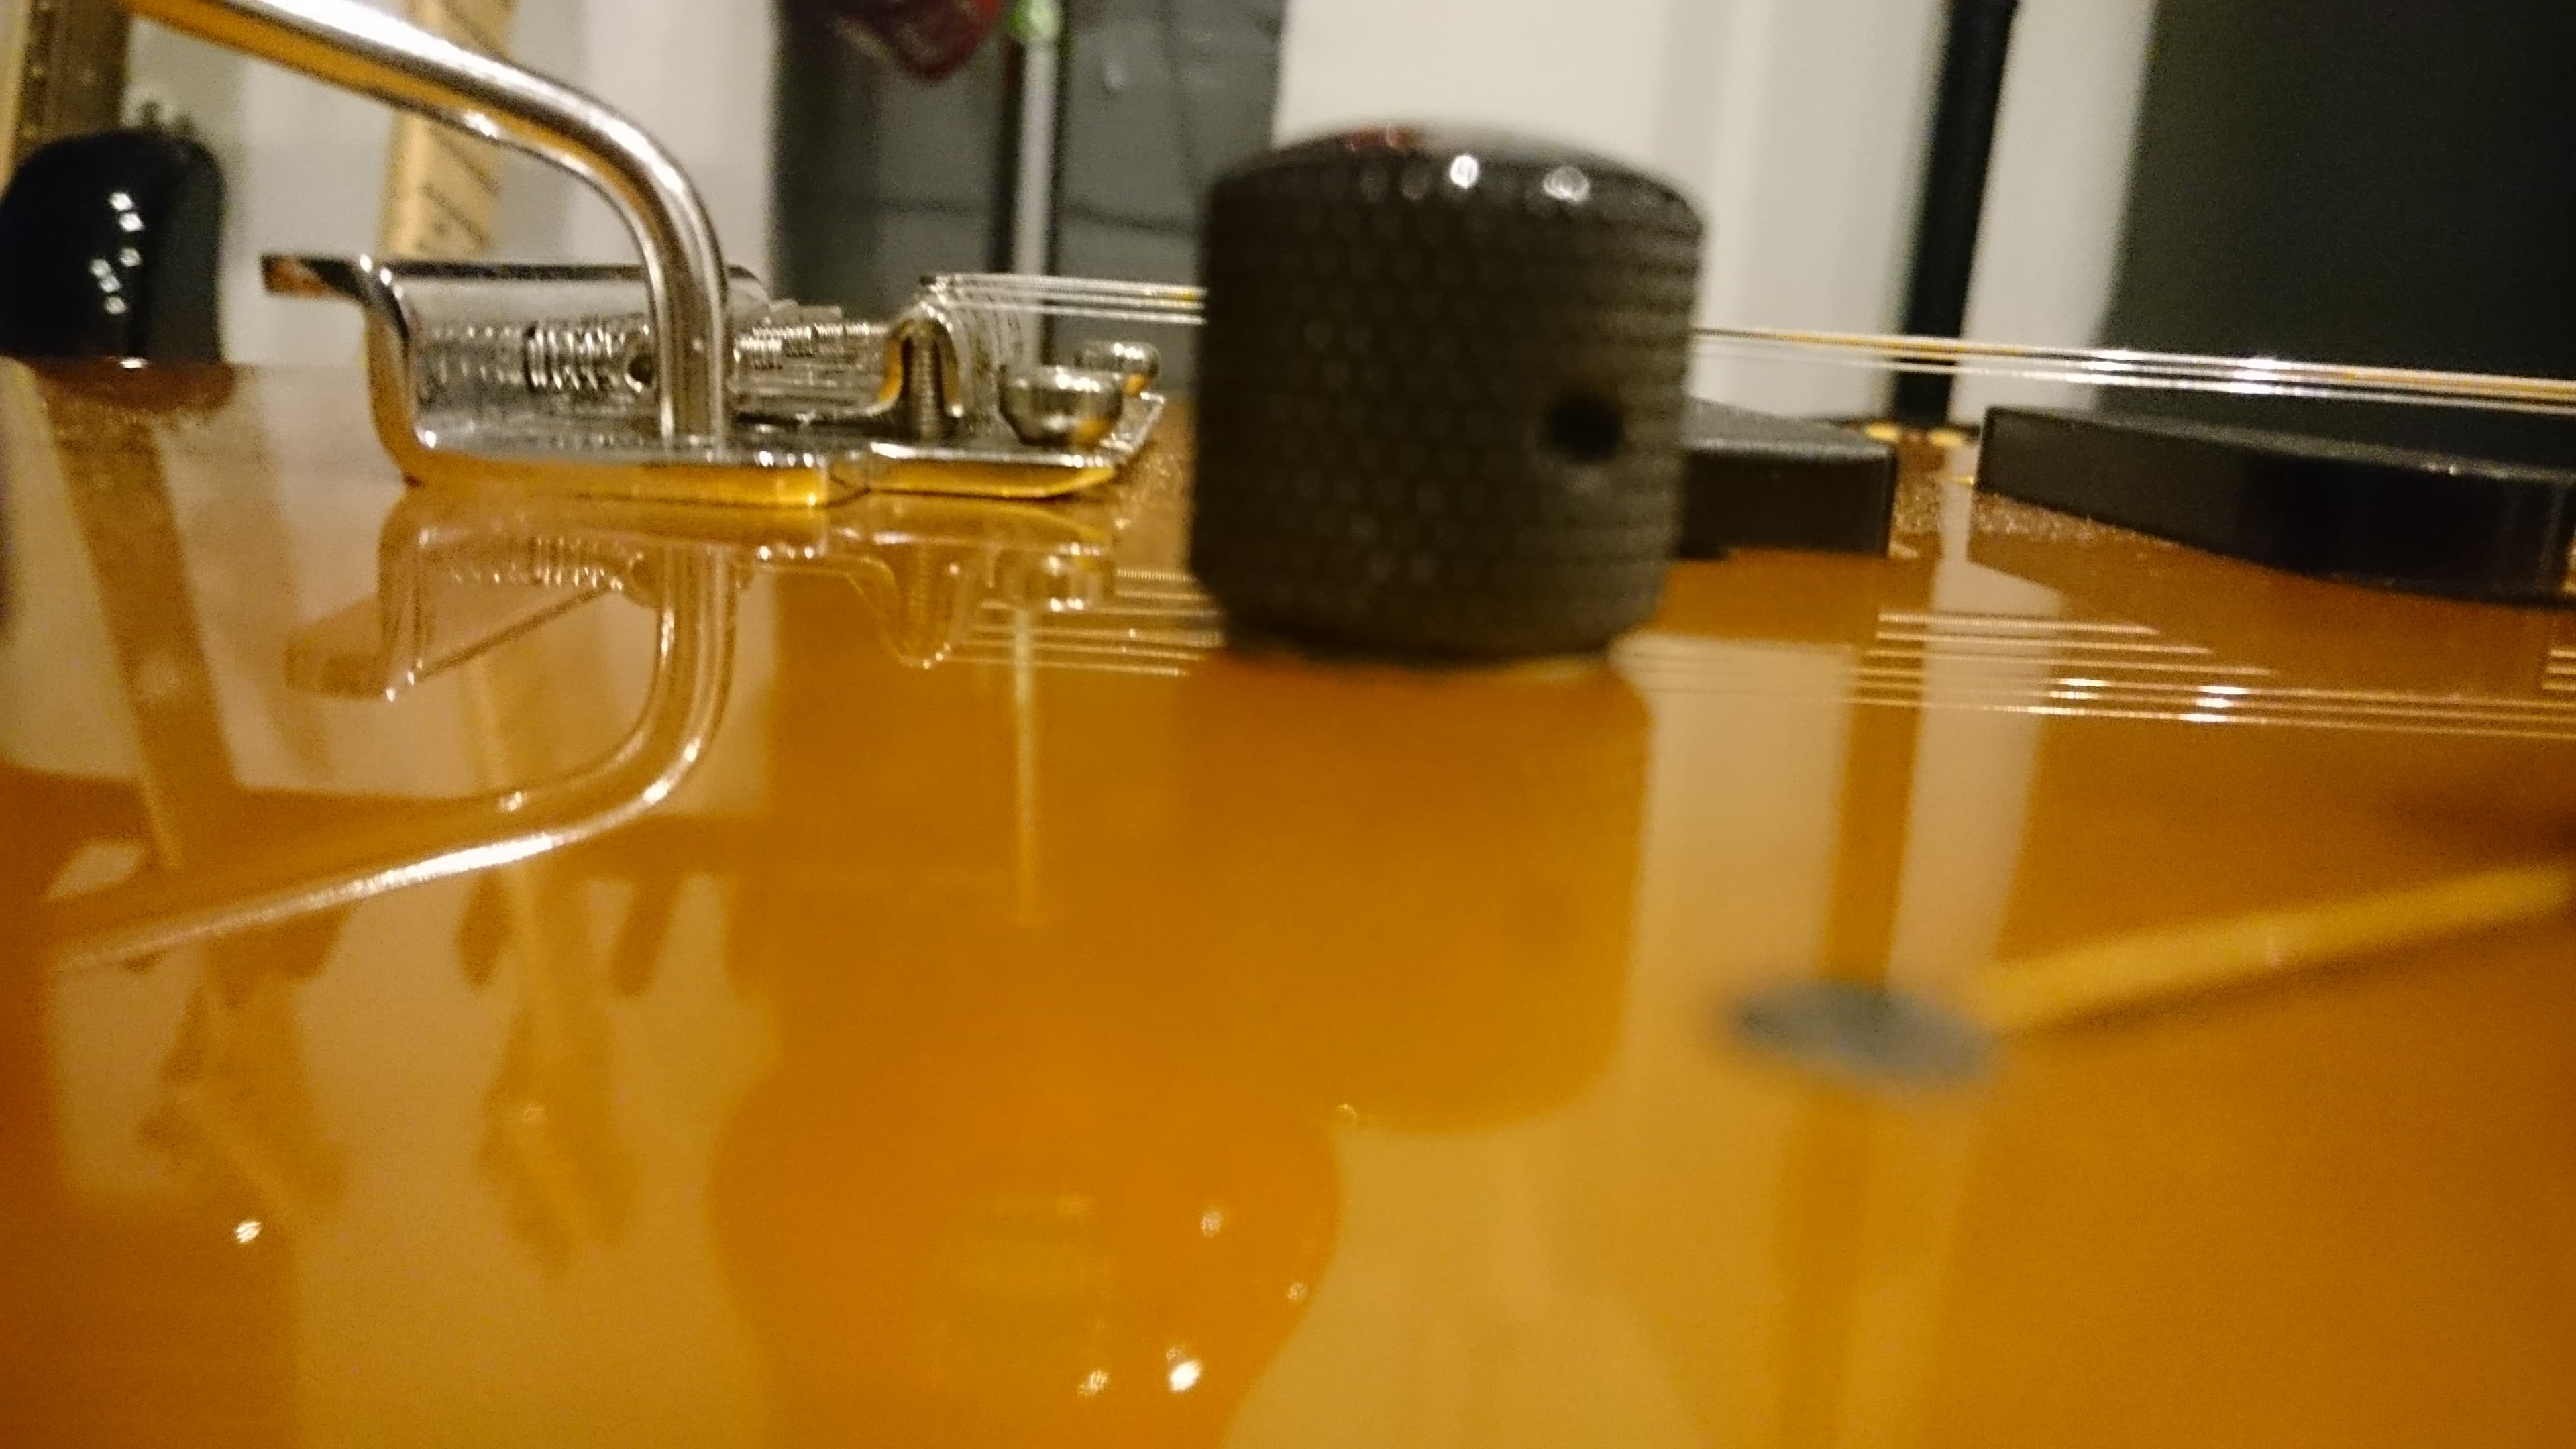 Mon vibrato est réglé flottant, j'ai volontairement tiré sur la barre en arričre pour faire les photos afin de mettre en évidence l'écart entre la plaque du vibrato (du côté des vis de pivot) et la caisse de la guitare, et on peut observer que le côté gauche est un peu plus relevé que le côté droit. Est-ce que c'est normal ou est-ce que ça peut user les couteaux du vibrato ŕ la longue ? D'ailleurs est-ce que ça se fait de mettre une vis plus haute que l'autre sur un vibrato ? Ou faut-il les mettre au męme niveau ? Le vibrato de la musicman Luke est connu pour son effet de "flutter" trčs bon. J'avais demandé ŕ mon luthier ŕ l'époque de me faire le réglage d'origine de la guitare suivant les spécifications du site musicman: Luke Tremolo Setup NOTES: The Luke tremolo is set floating at an angle off the body. This angle is set to bend the open G string exactly 1.5 steps to an A# note when the bridge is pulled back. This tremolo does not necessarily have to be set floating. If you do not require the bridge to float, follow instructions for the Music Man vintage style tremolo. If setting the bridge flat on the body per the vintage style instructions, the shim in the neck pocket of your Luke may need to be removed or changed to a different thickness. This setup only works with 9-42 gauge strings. Using a different string gauge can cause the bridge to sit too high or too low to perform well at this specification. If a floating bridge is desired using a different string gauge, you can still follow the instructions for setting a rough angle and floating the bridge (through step 6-e), but it will not be set up to bend to a specific interval. It will also require more than the two springs described below. 1. String the guitar 2. Install 2 springs in the back cavity, arranged in a “V” shape. a. On the springs, the bridge side hooks will use the outer two mounting holes on the bridge block, and the claw side loops will use tabs 2 and 4 on the spring claw. 3. Set the bridge plate a. Tune up the inner 4 strings (A,D,G,B) until some amount of tension is placed on the trem system. i. Having both spring and string tension will help keep the bridge from “jumping” on the pivot screws and closer to its natural resting place while performing the setup. ii. Full string tension is not necessary. iii. Tension is only placed on the inner 4 strings as to not permanently nick the outer strings while adjusting the pivot screws. b. Raise or lower the bass side of the bridge plate using the bass pivot screw (4mm hex drive) until there is a small gap between the bridge plate and body at the front of the plate (front is nearest the pivot screw). i. You should be able to slide a Post-It note between the plate (near the pivot screw) and body without it pinching. c. Repeat step b on the treble side. d. Adjust the pivot screws to allow both back corners (nearest the intonation screws) of the bridge plate to rest on the body. i. Continue adjusting the treble side pivot screw and observe the corners of the plate. ii. When the treble side screw is tightened into the body, it will reach a point where it levers the bass side corner upward. When the screw is raised out of the body, it will begin to lift the treble side corner. iii. Adjust the treble screw to where both corners of the plate rest firmly on the body. iv. Re-check the bass side screw to ensure there is still a gap between the plate and body, and re-adjust if necessary. e. Move the trem through its full range of motion. If the front edge of the plate contacts the face of the body near the pivot screws, raise the bridge slightly until it moves unimpeded. 4. Block the bridge. a. Dive the tremolo forward and wedge an object under the back of the bridge plate so the bridge is angled upward. i. The bridge will be resting on this object throughout the setup, held in place by the spring tension. b. Use something that won't damage the finish (a folded piece of cardboard wrapped in masking tape works well). c. The bottom of the bridge plate should sit ~4/32” (3.18mm) off the body, measured at the 90 degree bend near the intonation screws. d. This measurement is not an exact specification, just a starting point. The final angle will vary based on the results of the setup on your particular guitar. e. When tuned to pitch, the bridge should be resting on the block. If the block falls out or is easily removed, tighten the spring claw to provide sufficient tension to keep the block in place. 5. Follow the instructions for a hardtail guitar setup 6. Float the bridge a. With the tremolo still blocked, tune to pitch. b. Stretch the strings and retune. c. Loosen the trem claw screws until the bridge block pulls out easily. d. Pluck the G string, and observe its pitch on a tuner. It will likely be out of tune. e. Adjust the trem claw to bring the G note back to the correct pitch. When the G is back in tune, the bridge should be back to where it was originally set when blocked. f. Again, pluck the open G string and pull the trem all the way back until it meets the body. g. Observe the pitch of the G string with the trem pulled back. It should be near an A#. h. Adjust the spring/string tension until the open G yields a perfect A# with the bridge pulled back. i. Make sure all the strings are at the correct pitch before observing the G-to-A# bend. ii. If the A# note is flat, the bridge plate needs to be higher/more angled off the body. Loosen the spring claw slightly and re-tune. iii. If the A# note is sharp, the bridge plate needs to be lower/less angled off the body. Tighten the spring claw slightly and re-tune. iv. It will likely take several attempts to get the bridge at the correct angle to achieve a perfect 1.5 step bend. It is a fine balance between the string and spring tension, and adjusting either one will cause the other to go out of adjustment. Moving the bridge in small, methodical, observable increments is easier in the long run than attempting to make large adjustments. v. If the adjustment seems to be getting too far off one way or another, tighten the spring claw, re-block the bridge, and reset the angle from the initial base measurement of 4/32” off the body.Factory string setting for standard tuning starts at the bass side 2/32" (1.59 mm) to 5/64" (1.98 mm) and the treble side is 3/64" (1.19 mm) to 2/32" (1.59 mm) measured from the 12th fret to the bottom of the strings. The top of the strings should have the radius of the fretboard when you are looking at the strings in the playing position and by rotating the instrument while at the same time bringing strings into view one at a time. String height is determined by your preference and playing style. If a string buzzes on the open note to the 5th fret and no higher, more relief is needed in the neck. If there is more buzz from the 5th fret to the 12th fret, the neck needs to be straighter (less relief). Check the string height at every adjustment. If buzzing is present throughout the neck, the string height needs to increase. After every adjustment it is necessary to re-tune the guitar. The standard float height is measured at 1 1/2 steps on the G-string. If you set this first at 440 tuning, it may make it easier to keep the bridge close to the same angle while making all of the other adjustments. You may want a different amount of float - many players prefer 1/2 or only 1 step of float. After each adjustment, return to step one, and start again. Seulement je n'ai pas l'impression que ça suive exactement ce qui est stipulé, mon luthier m'a dit que le "flutter" s'obtient avec le réglage de la hauteur des vis de pivot, c'est vrai ? Ou est-ce que c'est uniquement lié ŕ la qualité du vibrato ? Car musicman dit que l'on devrait pouvoir glisser un post it entre la plaque et la caisse de la guitare au niveau des vis de pivot et lŕ sur ma guitare du côté gauche on peut glisser largement plus épais... du côté droit par contre ça me semble bon. Qu'en pensez-vous ? C'est une trčs bonne guitare et je ne voudrais pas avoir un réglage du vibrato "approximatif"...
Pas d'avis ?
Citation : b. Raise or lower the bass side of the bridge plate using the bass pivot screw (4mm hex drive) until there is a small gap between the bridge plate and body at the front of the plate (front is nearest the pivot screw). Pour moi, d’aprčs ce que je lis, et conformément ŕ mon idée intime, non, ce n'est pas normal. Les vis pivots doivent ętre réglées de façon ŕ ce que la plaque du vibrato touche presque la table. je cite: 'Tu dois pouvoir glisser dessous un papier de type post-it, sans qu'il coince'. pour regler ton vibrato 'flottant' c'est, dans un 2eme temps, sur le nombre et la tension des ressorts qu'il faut jouer. |


>> Plan du Forum Matos | suivi de la discussion | Tags : bridge, string, body, plate, pivot, will, side, strings, back
+